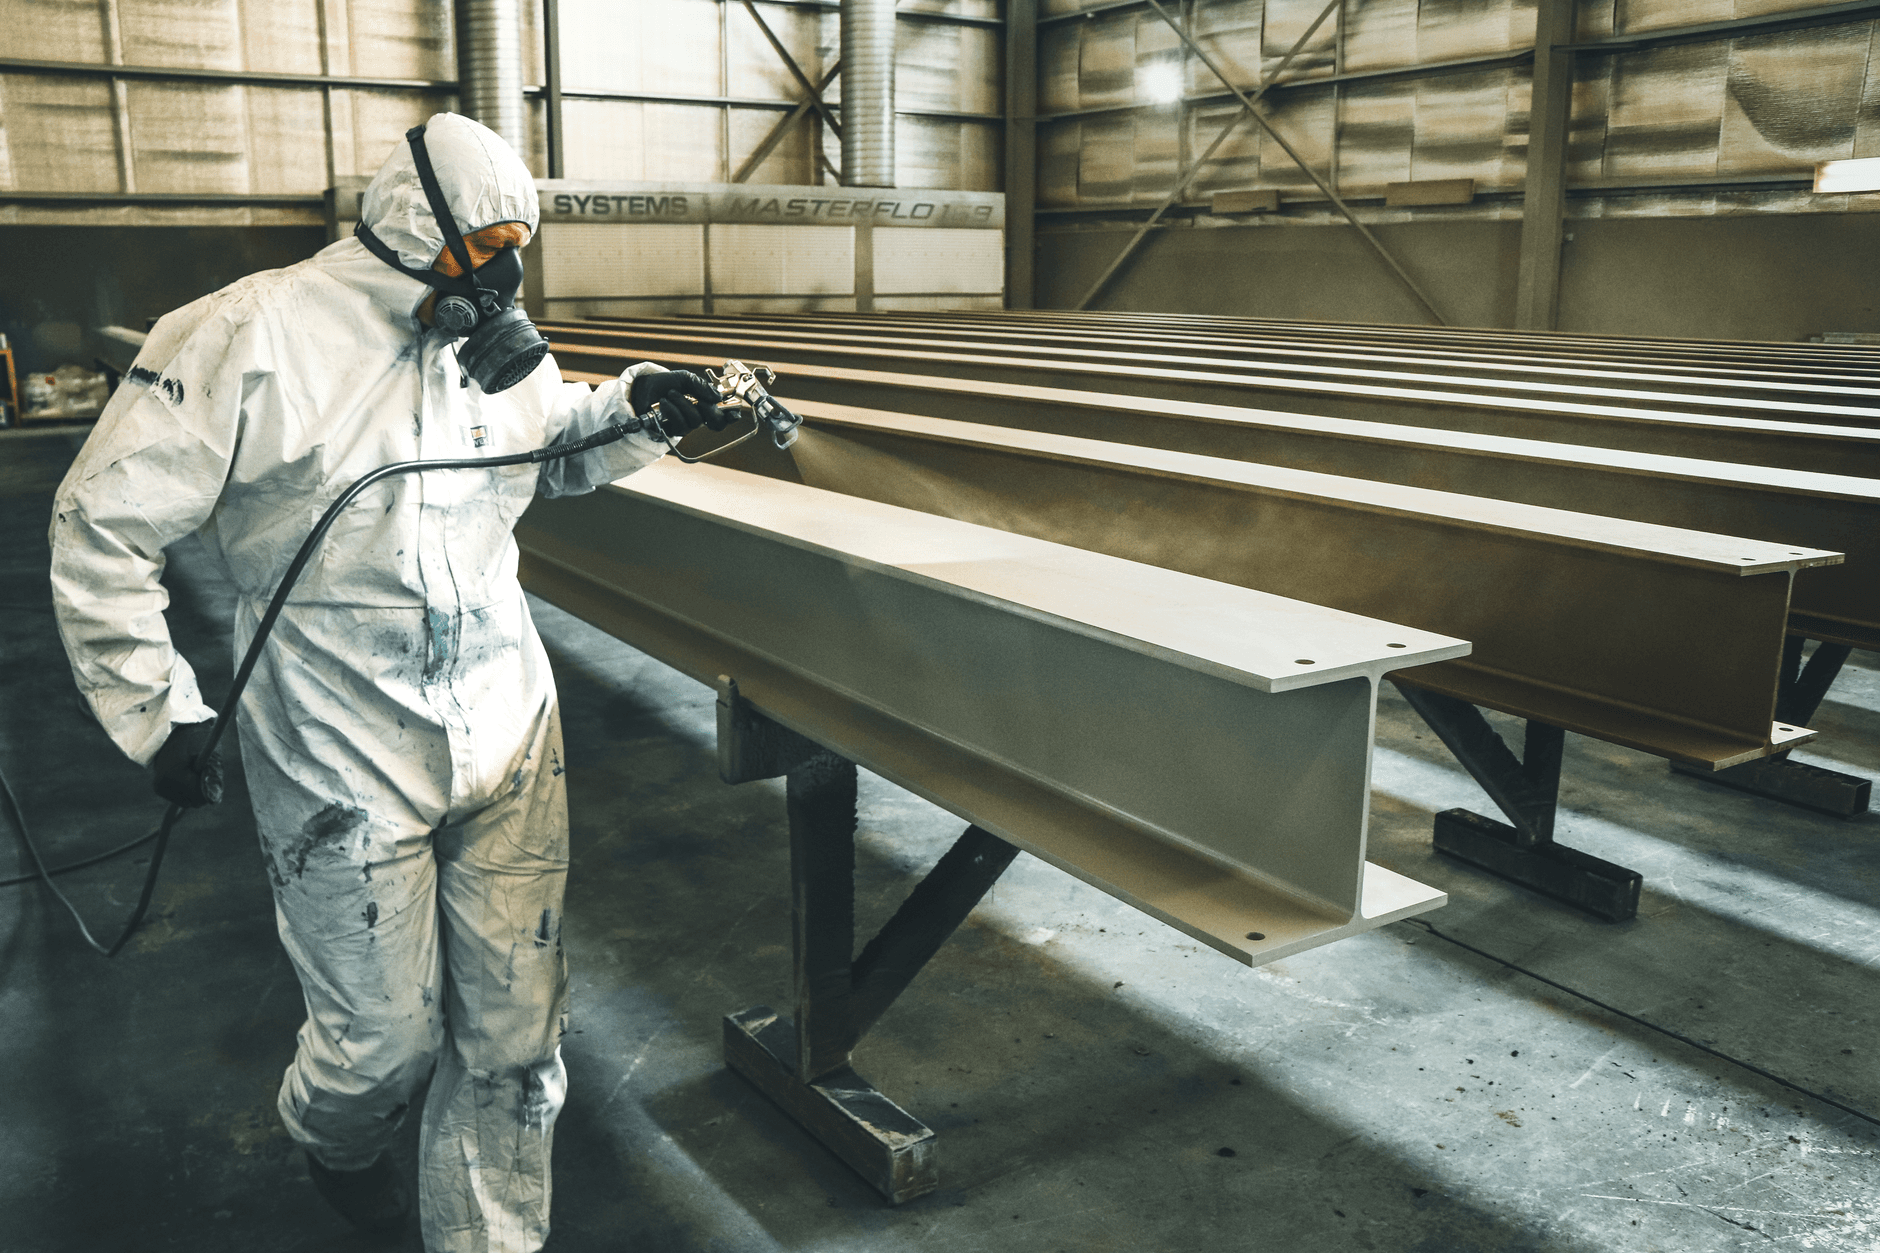
Sanding, priming, and painting turn a raw 3D print into a finished part. Start with 220 or 320-grit sandpaper to remove layer lines and support marks, then step up to 400 or 600-grit for smoothness. Prime with a light coat to fill small defects, then paint. Skip priming and paint will highlight every flaw.
Why layer lines matter before you paint
FDM prints show layer lines by default. Paint does not hide these, it emphasizes them. A rough surface catches light unevenly, and paint sitting in tiny valleys makes each line visible from an angle. Sanding levels the surface so paint sits uniformly on top. You do not need mirror polish, just enough smoothness that your eye does not catch ridges when you run your finger across the part.
Start by removing support marks with 220-grit sandpaper or a rotary tool. This is rough work, clearing away the bumps where supports snapped off. Then sand the whole surface with 220 or 320-grit, following the contours rather than fighting the geometry. Finish with 400 or 600-grit to smooth the micro-scratches the coarser grit left behind. Always move up one grit level. Jumping from 220 to 600 leaves scratches that show through paint.
How to mount and prepare for primer
Do not hold the part in your hand while sanding or priming. Drill a starter hole in an inconspicuous spot, push a thin dowel through it, and clamp the dowel to a wood block. This gives you a handle and keeps all surfaces accessible. Wash the part with a soft toothbrush and water to remove dust, then wipe it dry. Run a tack cloth over the surface with long, gentle strokes to catch any remaining particles. These steps matter because dust particles under primer and paint become bumps in the finish.
Mixing and spraying primer correctly
Primer fills small pits and creates a uniform base for paint. Swirl the primer can gently for 2 to 3 minutes in a circular motion. Do not shake it, which traps air and creates bubbles. Shake causes a rough, orange-peel texture that you then have to sand off.
Spray in short bursts, 6 to 8 inches from the surface, using rapid strokes. Light coats dry faster and adhere better than one thick coat. Apply two coats if needed, letting each dry fully between applications. The goal is thin, even coverage that shows the part shape underneath, not a blob of primer.
Material matters for finish quality
Different filaments sand and accept paint differently. PLA sands easily and accepts primer without special prep. PETG also takes primer well but is tougher to sand smoothly because it softens slightly under friction. Use a fresh sanding belt or sheet and do not press hard. ABS benefits most from post-processing, as it hides layer lines better than PLA once sanded and primed, but the solvent fumes from ABS can be harsh during sanding. Work in ventilation.
Material choice upstream affects downstream work. If you know your part will be painted, a material that sands easily and accepts primer saves hours. If appearance matters and the part takes impact, PETG or nylon are better choices than PLA despite the extra sanding care required.
Paint application and finish
Once primer is dry, sand it lightly with 400-grit to remove any dust specs or runs, then wipe with a tack cloth again. Paint in thin coats with the same technique: short bursts, 6 to 8 inches away. Multiple thin coats create a smoother, more durable finish than one heavy coat. Let each coat dry fully between applications.
Spray paint technique matters as much as material. Moving the can at a steady speed and keeping the nozzle perpendicular to the surface prevents drips and runs. Paint hides no flaws, so surface prep is where the work lives. A part sanded to smooth, clean plastic will look professional after paint. A part rushed through sanding will look textured and rough no matter the paint quality.
Frequently asked questions
How many grit levels do I really need to use?
If your part has light layer lines, start with 320-grit and finish with 600-grit. If it has deep marks or support blemishes, use 220-grit first to level them quickly, then move to 400 or 600-grit. Skipping grits saves time but leaves scratches that show in the paint.
Can I paint without priming?
Yes, but the result is usually dull and the paint may not bond uniformly. Primer fills micro-pits in the plastic and gives paint something to grip. On a part that takes abuse, primer also adds durability and helps prevent paint chipping.
What if I sand through to the base material?
Minor thin spots do not matter much, especially if the base plastic and paint are similar colors. If you sand through to white or bright spots on a dark paint job, a second coat of primer or paint usually covers it. Keep light pressure and check your work often when sanding complex shapes.