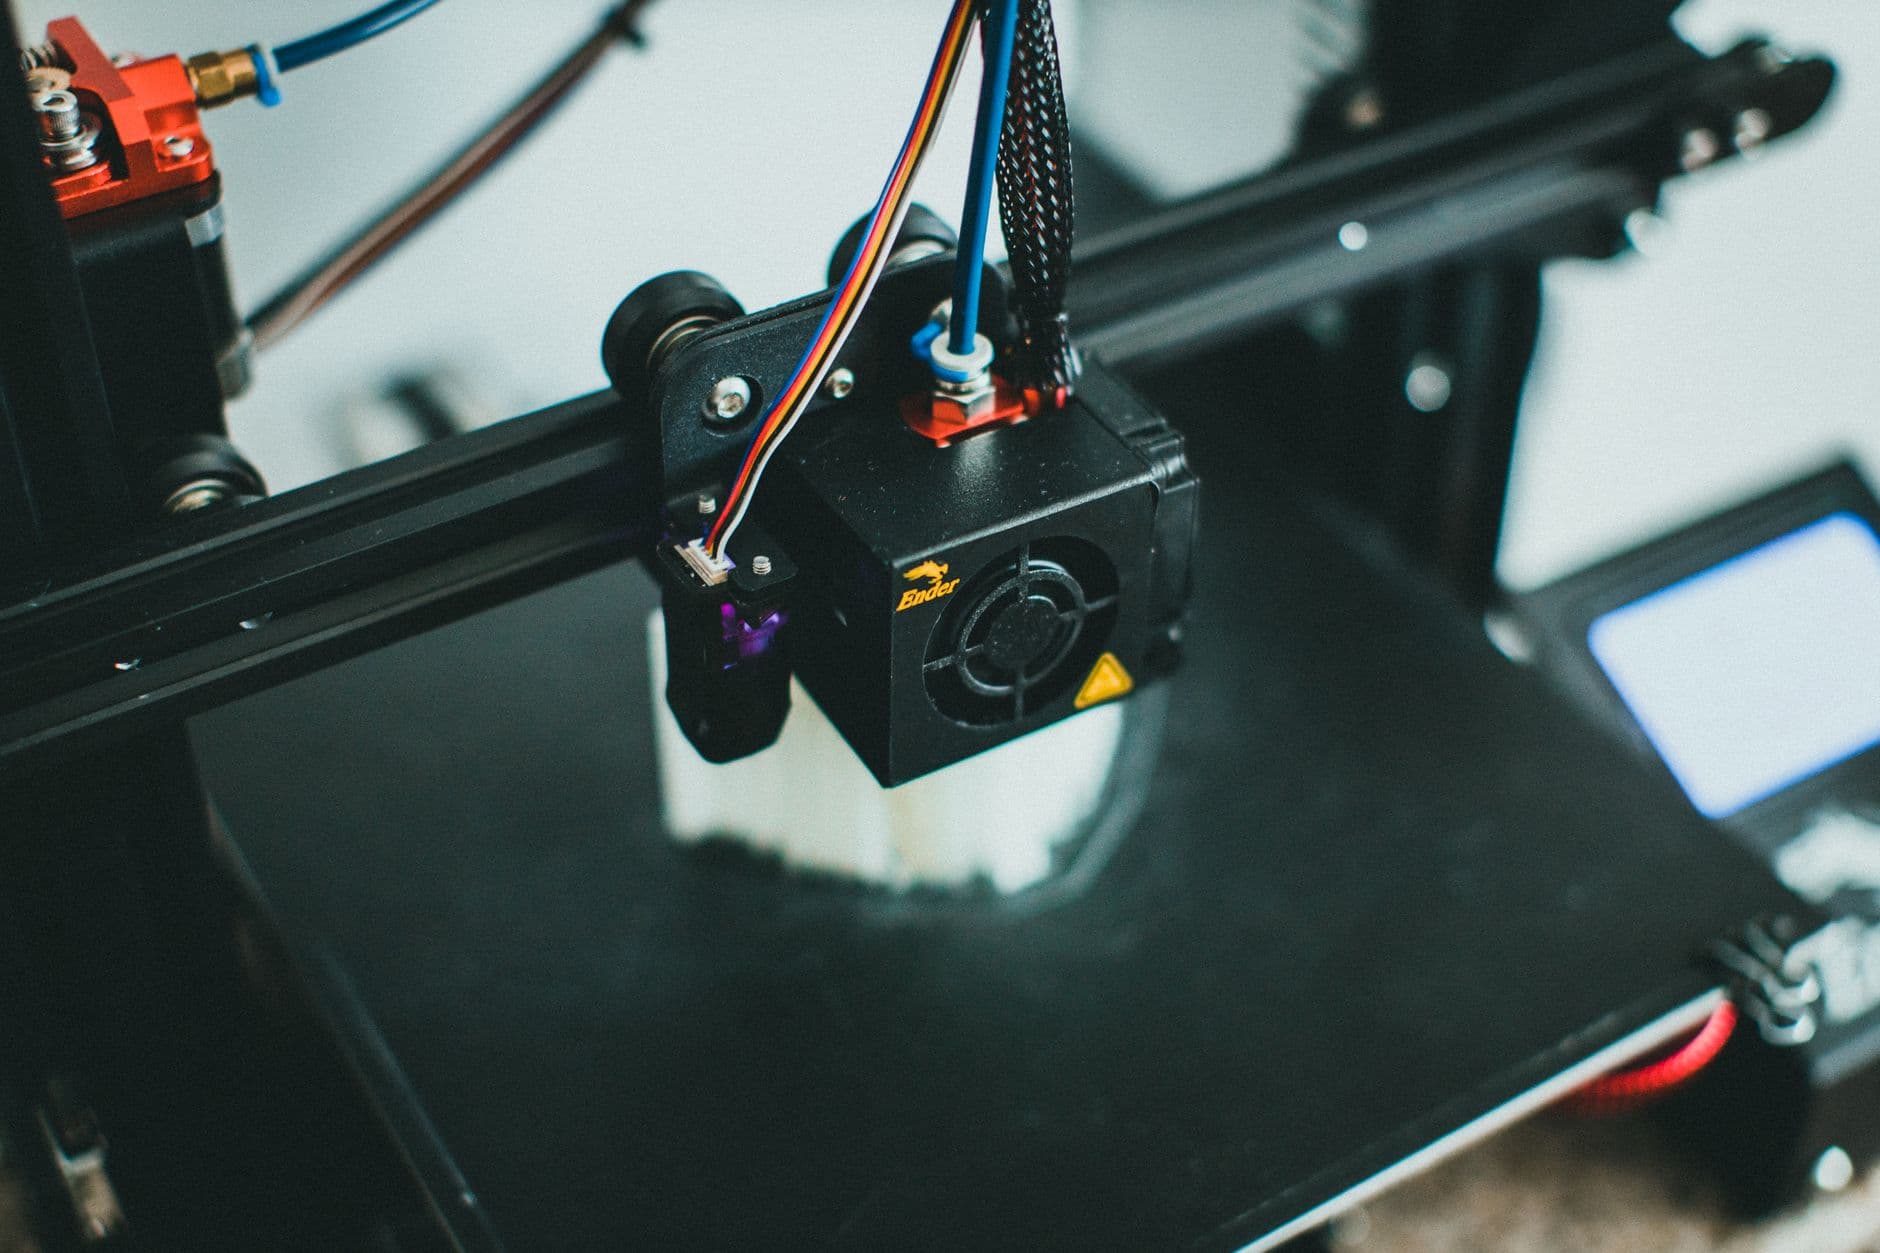
Getting a failed print because your STL file had a hidden problem is frustrating and wasteful. The good news is that most file-related failures are preventable if you understand what makes a valid STL and how to check your model before it reaches the printer.
An STL file describes a 3D object as a mesh of triangles. That simplicity is useful for 3D printing, but it also means small errors in how those triangles connect can cause the printer to misinterpret your geometry and produce garbage. Catching these issues upfront takes a few focused steps.
Understand what makes an STL valid
A printable STL must be manifold, which means every edge is shared by exactly two triangles and the geometry forms a solid, watertight volume. Imagine filling your model with water: if it leaked, it's not manifold. Non-manifold geometry causes slicers to produce incorrect toolpaths, leading to prints with gaps, floating plastic, or areas that don't slice at all.
Common problems that break manifoldness include gaps between surfaces, faces that point inward instead of outward, duplicate or overlapping triangles, and isolated vertices or edges. Some of these errors happen during CAD design. Others creep in during the export from your native file format to STL.
Export correctly from CAD
Start upstream. When you export STL from your CAD software, pay attention to resolution settings. The STL format uses triangles to approximate curves. Too coarse a resolution, and cylindrical or organic shapes become visibly faceted and lose detail. Too fine, and your file balloons in size, slices more slowly, and strains your printer's firmware without adding meaningful quality. Most CAD programs offer a tolerance or deviation setting: adjust this to match your printer's accuracy and the feature size you care about. For general FDM printing, a reasonable middle ground avoids both blocky surfaces and bloated files.
If your model is made of multiple separate parts and should print as one piece, export it as a single body. Exporting separate bodies as one file can create internal intersections or gaps that the slicer interprets as broken geometry.
Validate your file before printing
Do not assume the export was clean. Run your STL through a validation tool. Free options like Netfabb or online checkers will flag non-manifold edges, holes, and face orientation issues. Professional CAD suites often have repair functions built in, and slicing software like PrusaSlicer will detect many problems and offer to auto-repair them.
If a tool reports errors, look at them, do not ignore them. Auto-repair can fix small issues, but it can also subtly change your geometry. If the repair seems wrong, go back to your CAD model and fix the root cause.
Check your design for print-ability
A geometrically valid STL can still fail to print if your design ignores the constraints of layer-by-layer printing. The critical issue is overhangs: any surface that extends at an angle steeper than roughly 45 degrees from vertical will print poorly or fail because plastic below it has nothing to rest on. You have two choices: angle the feature to be less steep, or plan to use support material.
Support material adds cost and waste, so it is worth designing features to avoid it when possible. Thin walls below a few tenths of a millimeter also tend to fail because the printer cannot lay down enough material. Likewise, any enclosed cavity that is too small to clean out will trap cured resin or powder inside. Think through these issues before you export.
Use the slicer as your final check
Once your STL is exported and validated, import it into your printer's slicing software. This is your last opportunity to catch problems. The slicer will show you how the model will be layered and can alert you to non-manifold geometry, islands of plastic that won't connect, or other issues. If the preview shows something wrong, do not print. Go back, fix the file, and re-import.
Check the orientation too. The way your part sits on the build plate affects surface quality, support requirements, and print time. Rotate the model to minimize overhangs and support contact area if you can.
A practical workflow
In practice, here is how to avoid wasting a print:
- Design your part with 3D printing constraints in mind: think about overhangs, wall thickness, and enclosed spaces.
- Export to STL with reasonable resolution settings, as a single body if it should print as one piece.
- Run the file through a free validation tool and review any errors.
- Import into your slicer and inspect the preview layer by layer.
- Only after the slicer preview looks correct, send to the printer.
This adds maybe ten minutes to your workflow and eliminates the most common causes of failure. It is cheaper than reprinting a broken part or trying to salvage a half-finished mess from the build platform.